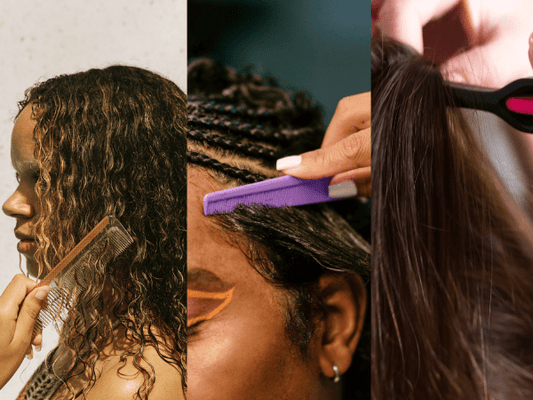
The Importance of Hair Masks for Curly Hair
Curly hair is more susceptible to environmental damage and tends to be drier than straight hair. This is because the natural oils produced by the scalp have a harder time traveling down the hair shaft due to the curls and coils. A hair mask, especially a moisturizing one, can provide deep hydration, essential nutrients, and the much-needed TLC your curls crave. Regular use of a hair mask can transform your hair, making it stronger, healthier, and more manageable.
Ingredients for Your DIY Curly Hair Mask
When it comes to creating a DIY hair mask for curly hair, the ingredients are key. Here are some natural ingredients that are not only effective but also easily accessible:
- Coconut Oil: This oil is a holy grail for hair care, known for its deep moisturizing properties and ability to penetrate the hair shaft, providing nourishment from within.
- Honey: A natural humectant, honey attracts moisture, helping to keep your hair hydrated and reducing frizz.
- Banana: Rich in potassium, vitamins, and natural oils, bananas can help soften the hair and protect its natural elasticity, preventing breakage.
- Avocado: Packed with vitamins B and E, avocados strengthen hair, promote hair health, and add natural shine.
- Olive Oil: This oil is rich in antioxidants and hydrating squalene, making it perfect for nourishing and conditioning dry, brittle hair.
How to Make Your DIY Curly Hair Mask
Ingredients:
- 1 ripe avocado
- 2 tablespoons of coconut oil
- 1 tablespoon of honey
- 1 ripe banana
- 2 tablespoons of olive oil
Instructions:
-
Prepare the Ingredients: Start by cutting the avocado in half, removing the pit, and scooping the flesh into a blender. Add the banana, coconut oil, honey, and olive oil to the blender.
-
Blend: Blend all the ingredients until you achieve a smooth, creamy consistency. Make sure there are no lumps to avoid getting bits stuck in your hair.
-
Apply: Before applying the mask, make sure your hair is damp and detangled. Section your hair and apply the mask thoroughly from roots to ends, focusing on areas that are particularly dry or damaged.
-
Cover and Wait: Once your hair is fully coated, cover it with a shower cap or plastic wrap. This traps heat, allowing the mask to penetrate deeper. Leave the mask on for at least 30 minutes, though you can leave it on for up to an hour for deeper conditioning.
-
Rinse and Style: Rinse the mask out with lukewarm water and follow up with your regular shampoo and conditioner routine. Finally, style your hair as usual and enjoy your revitalized, bouncy curls.
Tips for Maximizing the Benefits of Your DIY Hair Mask
- Frequency: Depending on your hair's condition, use the hair mask 1-2 times a week for best results.
- Heat: For an extra boost, apply gentle heat with a hairdryer (over the shower cap) to enhance the mask's penetration.
- Customize: Feel free to adjust the ingredients based on your hair's specific needs. For example, if your hair is extremely dry, consider adding more coconut oil.
- Patience is Key: Consistent use over time will yield the best results. Don't expect miracles overnight, but with regular application, your curls will transform.
Conclusion
Creating a DIY curly hair mask is not just an act of self-care but a step towards embracing and nurturing your natural curls. The right blend of natural ingredients can provide your hair with the hydration, nutrients, and care it needs to thrive. By incorporating a homemade hair mask into your routine, you're choosing a path of natural, tailored care that can make your curls more manageable, vibrant, and healthy. Remember, every
