Understanding Finger Coiling
Finger coiling is a styling technique that manually shapes and defines curls by coiling sections of hair around a finger. Ideal for all curly hair types, from wavy to coily, this method can enhance your natural curl pattern, reduce frizz, and ensure even curl definition throughout your hair. It's particularly beneficial for those with multiple curl patterns or transitioning hair, providing uniformity and helping to train your curls to clump and coil naturally.
Benefits of Finger Coiling
- Enhanced Curl Definition: Finger coiling meticulously defines each curl, offering a polished look.
- Frizz Reduction: By smoothing the hair cuticle as you coil, you can significantly reduce frizz.
- Versatility: You can adjust the tightness of the coils to match your natural curl pattern or to create a variety of looks.
- Damage Control: This no-heat method is gentle on the hair, helping to maintain its health and integrity.
- Customization: Finger coiling allows for personalized styling, enabling you to define curls exactly how you want them.
How to Finger Coil Your Hair
1. Start with Clean, Conditioned Hair
For the best results, begin with freshly washed and conditioned hair. Finger coiling works best on wet hair, as water helps the hair to clump and coil more easily.
2. Apply a Leave-In Conditioner
After washing, apply a leave-in conditioner to ensure your hair is well-hydrated. This step is crucial for maintaining moisture and elasticity in your curls.
3. Section Your Hair
Divide your hair into manageable sections. The size of the sections will depend on the desired size of your coils; smaller sections for tighter coils, and larger sections for looser coils.
4. Use a Curl Defining Product
Apply a curl cream, gel, or mousse to each section before coiling. These products help hold the curls in place and can add extra moisture and definition.
5. Coil Each Section
Take a small section of hair, wrap it around your finger, and gently slide your finger out, leaving a perfectly formed coil. Repeat this process throughout your entire head. For tighter coils, wrap the hair more tightly around your finger; for looser coils, use a lighter touch.
6. Dry Your Hair
Allow your hair to air dry, or use a diffuser on a low heat setting to speed up the process without causing frizz or disrupting the coils. Avoid touching your hair as it dries to prevent frizz.
7. Break Up the Coils
Once your hair is completely dry, gently separate the coils with your fingers to create volume and make the style look more natural. If you prefer, you can also leave the coils intact for a more defined look.
Tips for Perfect Finger Coils
- Patience is Key: Finger coiling is a time-consuming process, especially for those with thick or long hair. Set aside enough time to carefully coil each section.
- Experiment with Products: Finding the right styling product is crucial for achieving lasting definition and hold. Don't be afraid to experiment with different products to see what works best for your hair.
- Maintain Moisture: Keep a spray bottle of water handy to re-wet sections of hair that begin to dry before you coil them.
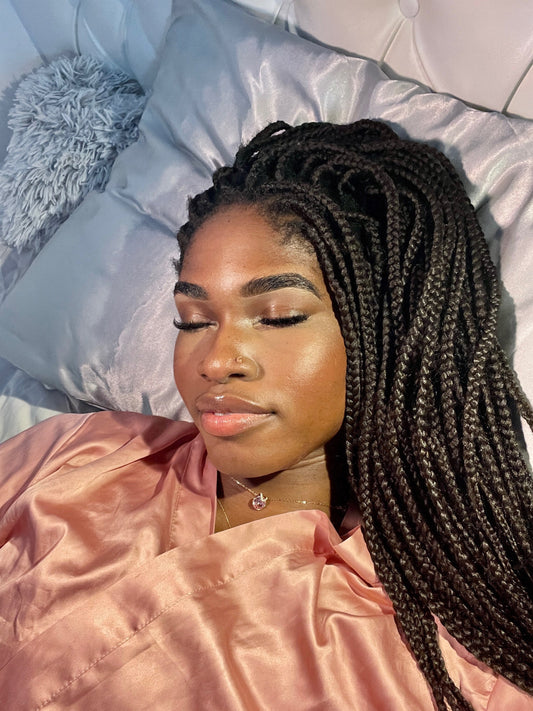
- Protect Your Coils Overnight: Preserve your coils by sleeping on a satin or silk pillowcase, or wrap your hair in a satin scarf or bonnet to reduce frizz and maintain definition.
Conclusion
Finger coiling is an art form that requires patience, practice, and a willingness to learn what works best for your unique hair type. While it may seem labor-intensive, the results—beautifully defined, frizz-free curls—are well worth the effort. This technique not only enhances the natural beauty of your curls but also promotes healthier hair by encouraging low-manipulation styling and reducing reliance on heat. By mastering the art of finger coiling, you can take control of your curl definition and enjoy the versatility and vibrancy of your natural curls to the fullest.
